Get Started
Installation
We understand that installation can be an intimidating process, but it doesn’t have to be with the right direction and the right tools.
From Your Imagination To Reality
Our PDF guide is full of tips and tricks to help jumpstart your installation.
Check Out Our Full Installation Video
We partnered with professional wallpaper installers to film a thorough how-to video that we hope gives you the confidence to install our wall murals just as easily as the pros can.
Let’s get started
Step by Step
Find Your Starting Point
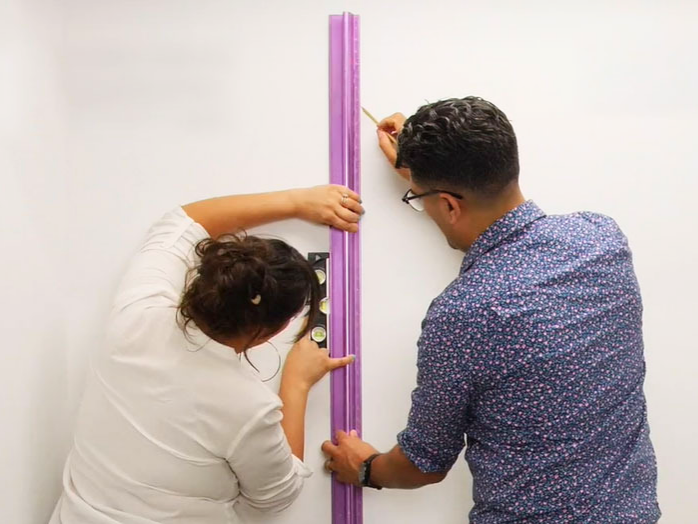
Starting from the left corner of your wall, measure the width of the wallpaper panel minus a half inch (to allow for trimming on the left wall edge) and mark with a pencil. Using a level, draw a straight, vertical line up and down from your pencil mark. This line will be your guideline as to where you should line up the right side of panel 1.
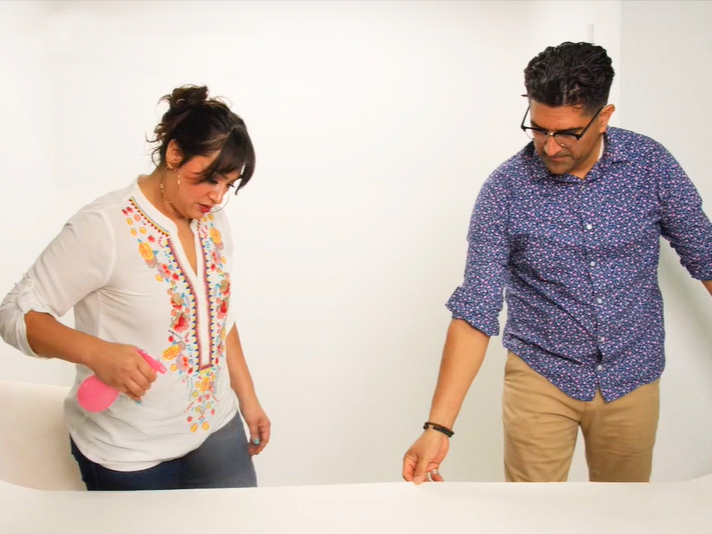
Saturate Panels & Book
Place your panel glue side up. Using an automatic pump sprayer or spray bottle, saturate the wallpaper with water to activate the adhesive. Gently fold both ends, paste side in, towards the center of the strip, without creasing the folds. This is known as “booking” the panel. Book your panel for about a minute and no longer than three minutes total.
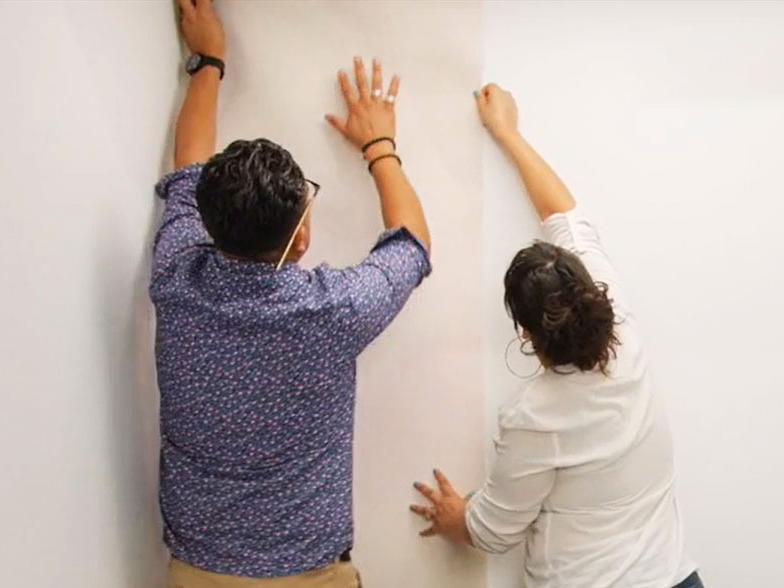
Position Your First Panel
Unfold the top half of the wallpaper, leaving the bottom half of the wallpaper booked, and position the glue-exposed portion of the top of the wallpaper on the wall. Line up the strip with your hand-drawn line. Unfold the bottom half of your panel and using a smoothing tool, smooth downward and outward. Trim off any excess off the bottom.
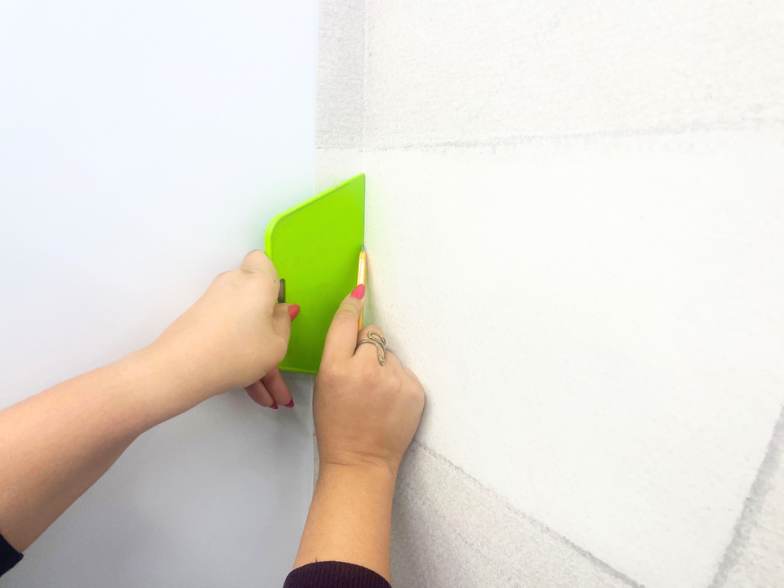
Repeat steps 2 and 3 for the remaining panels. Carefully trim the top and bottom. Gently hug the seams together, but do not push the wallpaper too hard. Smooth out all air bubbles. Wipe with warm water and a sponge, taking care to remove all the paste from the seams. Repeat with your remaining panels.
Installation FAQs
Should I hire a professional to install my wallpaper? Do you have any recommendations?
While our paper is designed to be installation-friendly, we do recommend hiring a professional wallpaper installer. If you need recommendations, we suggest visiting this professional website: Wallcovering Installers Association
What condition should my walls be in before installation? Do I need to prep anything?
Please be sure that your walls are clean, dry, smooth, and free of debris. Priming is recommended for best results. If you decide to prime your walls, make sure that your walls are completely dry before installing wallpaper. Remove all old wallpaper. Do not try to install your mural over dark paint, as the color may show through our paper.
What supplies do I need for installation?
You will need a measuring tape, scissors, plastic sheeting, an automatic water sprayer or spray bottle, warm (not hot) water, a natural sponge, a pencil, a level, a craft knife with extra blades, and a plastic wallpaper smoothing tool. You may need a step stool or ladder, depending on the height of your walls.
Please avoid using cellulose sponges to wipe down your paper. If you have a metal smoothing tool, you may use this to trim the wallpaper only. Do not use a metal tool to smooth the paper as the metal will damage the paper.
Using a drop cloth underneath your plastic sheeting is an option, but it will ensure that your floors are completely protected. A worktable can be very helpful if you do not have a lot of space. Additionally, wearing an apron or tool also works well for keeping the tools you need in one handy place.
I’m nervous…do you have any tips for installing wallpaper for the first time?
Don’t be shy about watching our installation video multiple times. Most of our customers find that watching an installation from start to finish a few different times really helps.
Take your time and be sure that your first panel is as straight and level as humanly possible – this will start you off on the right foot and help the rest of your installation feel like a breeze.
There’s also no need to worry so much! Our panels can be readjusted for up to ten minutes after being placed, so if you notice right away that one panel isn’t straight, you can fix it and move on.
Lastly, avoid trying to cut corners by using the wrong tools. Wallpaper can be a beautiful addition to your home, and by using the right tools, taking your time, and having a friend to help, you can ensure that installation will go smoothly as well.
Can I wallpaper my ceiling?
You may wallpaper your ceiling as long as your ceiling is clean, smooth, primed, and dry. Any texture, such as stucco, will not work. Be sure to saturate your paper with enough water during installation and book it for at least ten minutes – this will ensure that you’ve properly activated the glue and the paper will adhere to your ceiling nicely.
Need More Help?
We are happy to assist with questions, offer advice, or just connect and say hello. Please reach out and we will get back to you within 24 hours.
